teaching interaction /12
12 May 2012, 15:17
A few weeks ago I was again teaching my course, interaction design for the real world, at the FH Vorarlberg, Austria. As always, the course evolved further: a feedback session for draft documentation was built in this year, which proved to be very valuable.
Also I made headway with stamping out non‑designer vocabulary. Last year the taboo word was ‘intuitive,’ this year it was the phrase ‘the user.’ Interaction designers speak of ‘users’ in plural, to get the message across that there are many of them and that they are a diverse group.
working the seam
The real‐world design challenge that the students worked on was, like every year, from the GIMP project. This year I picked the Liquid Rescale plugin. It implements seam carving, which means that it finds the uninteresting portions of an image, and modifies only these to grow/shrink an image.
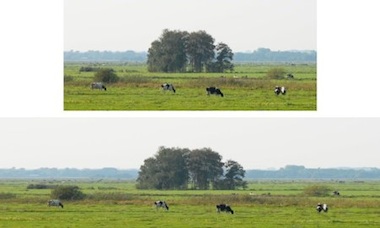 an example from
meetthegimp.org,
mind the cows…
an example from
meetthegimp.org,
mind the cows…
But things are not that easy. There is plenty of parameters to drive this and just about all of them are necessary:

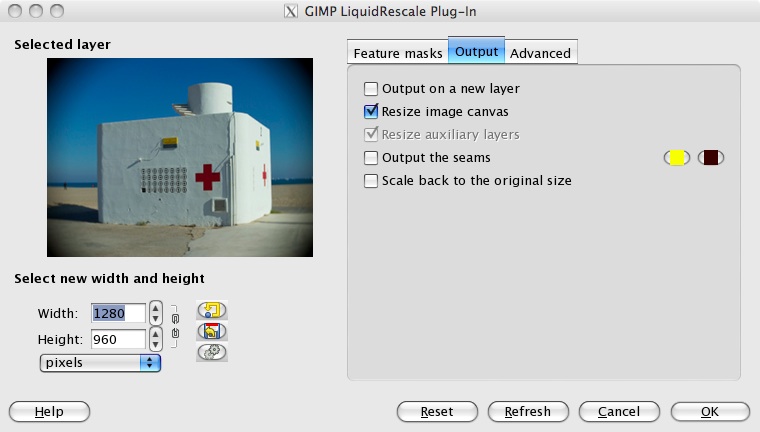

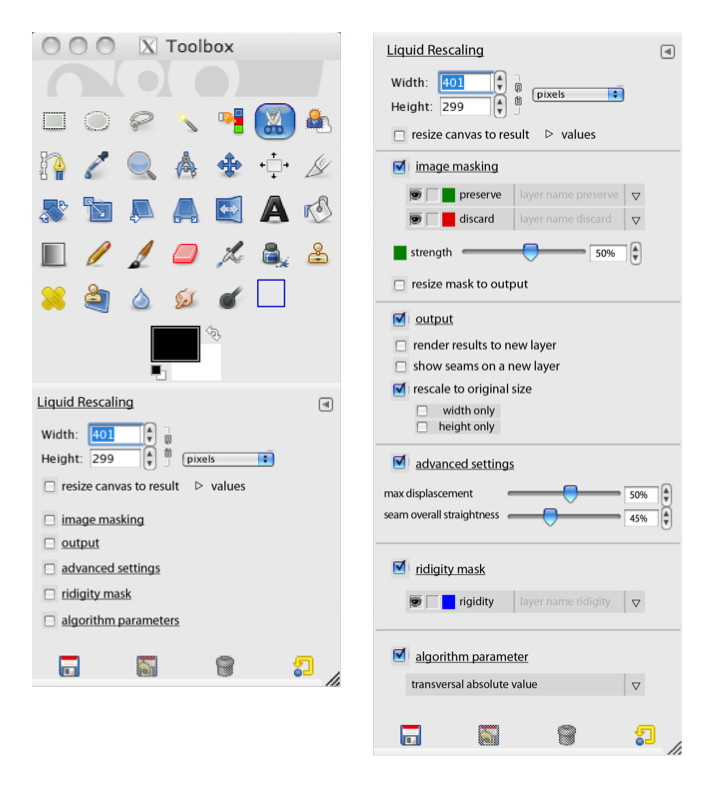
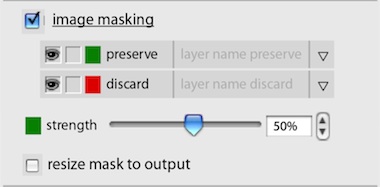
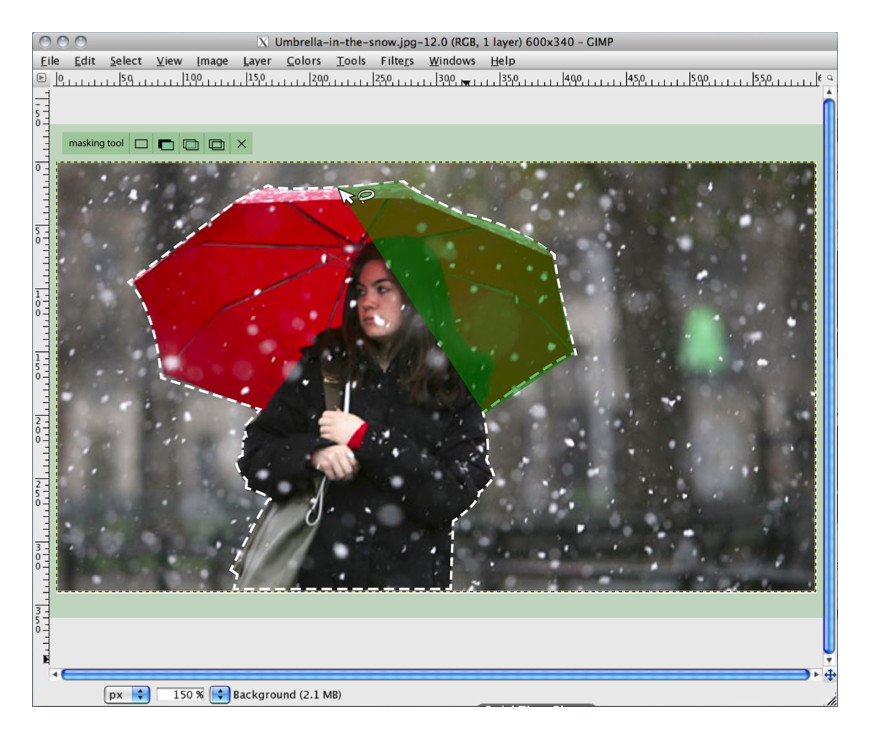
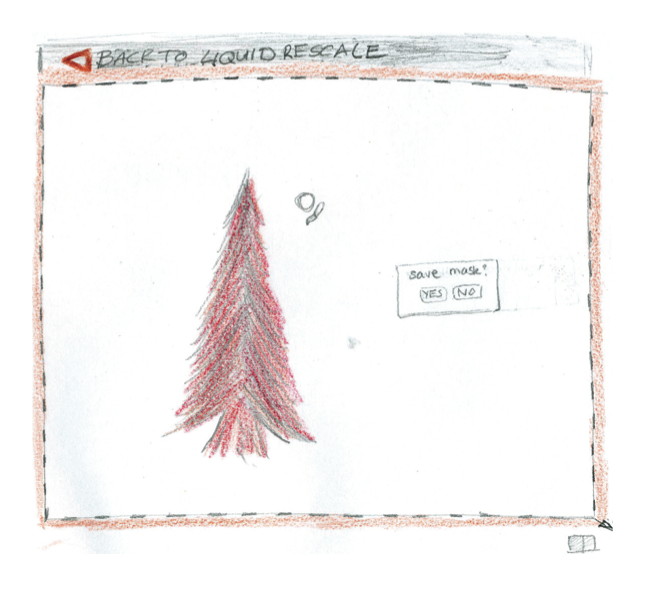
The most important of all these parameters are the preservation and discard masks, which let users specify which parts of the image (or more precise: the layer) are interesting and uninteresting, respectively.
scenarios + variants
To flesh out the essential use of Liquid Rescale, we made a few user scenarios:
- simple resizing, also in relation to a composition (say, a collage);
- precise control while resizing, using the preservation and discard masks;
- make objects disappear without a trace, using the discard mask;
- creative abuse, beyond the hi‑fidelity intentions of the tool.
The students used these scenarios for their evaluation of the interaction of the existing tool. With their insight into the good and the bad, the students were ready to brainstorm better solutions. This year the students were asked to do this in four directions.
This was in reply to two open questions. The first one was ‘should Liquid Rescale be a plugin in a dialog or a toolbox tool?’ The second one had to do with layer abuse: those preservation and discard masks have to be in the layer stack. So I asked the student to brainstorm the direction of using layers and the opposite: not use layers.
After the brainstorming the student teams picked their own course, while designing their solution.
three team results
And now the design results of the student teams. First let me make clear that the work of all three teams is available under the GNU Free Documentation License 1.2. I present them in team order.
team one
- members: Ana Beatriz Bravo Rojas + Elena Zabrodina
- design concept document (pdf, 5.4 MB)
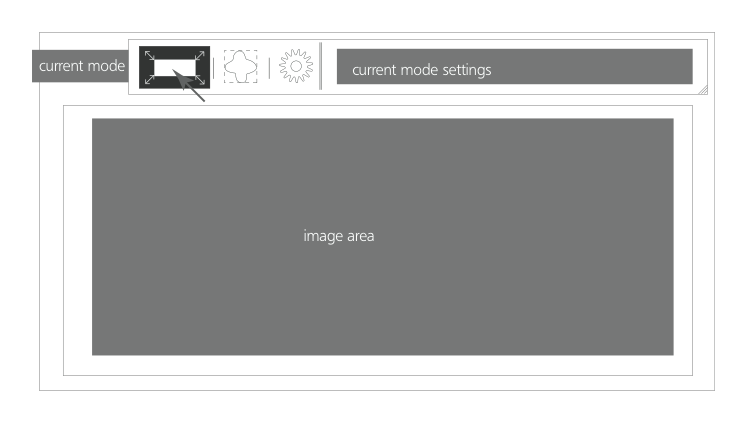
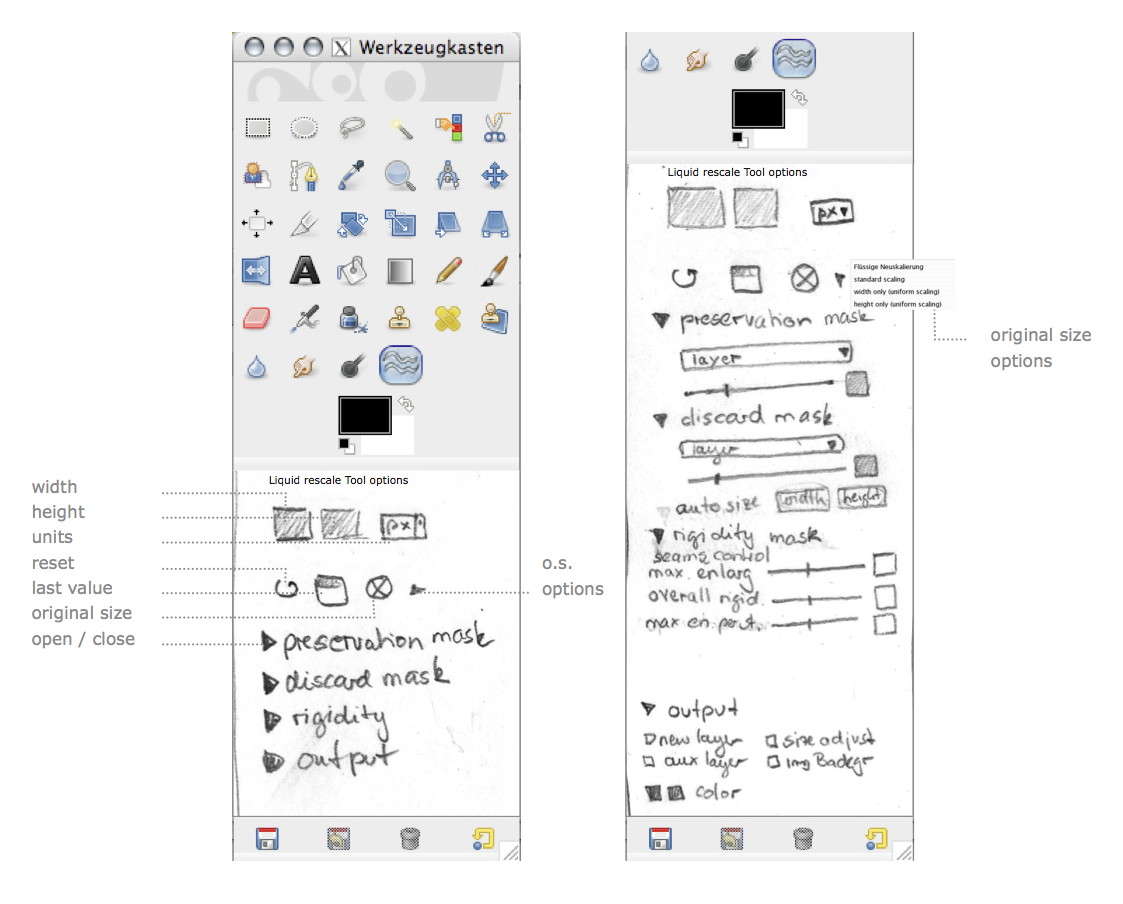
Team one decided on keeping Liquid Rescale a plugin in a dialog. But they worked real hard on reducing the area occupied by the parameter controls, thus optimising the area available for previewing the layer that is being worked on:
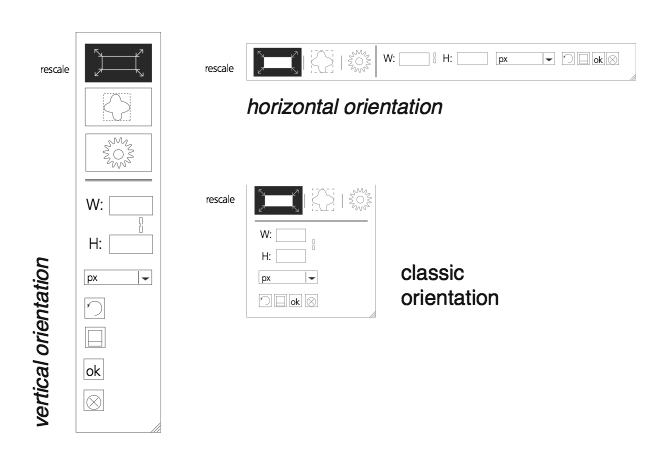
I like that they designed these compact controls as a flexible system (quite a challenge), which can be used in different aspect ratios:
Team one settled for using layers to represent the preservation and discard masks and also designed the output of the tool to automatically appear as new layers.
team two
- members: Isabel Schmidt + Simon Wenglein
- design concept document (pdf, 4.6 MB)
Team two did the opposite of team one. They redesigned Liquid Rescale into a toolbox tool, which means it works fully interactive on the canvas. Since there are ample options they designed collapsing sections for them. Below left we see all sections collapsed; on the right all of them expanded:
Also they designed the preservation and discard masks out of the layer stack. They live inside the tool instead, where they can be created, worked on and managed:
Below you can see how team two designed a mask editing session. I like that they did not take the ‘making masks equals painting’ metaphor for granted. Instead they adapted the free/poly selection tool for mask definition needs:
team three
- members: Alexandra Genewein, Katrin Seidel + Nicolai Pritzl
- design concept document (pdf, 2 MB)
Team three also redesigned Liquid Rescale into a toolbox tool. Also with collapsing sections in the tool options. Below we see their take on the collapsed (left) and expanded (right) layout:
Team three gave their own twist to the preservation and discard masks. Treading the middle way, they made it optional whether these would be stored as layers. Below we see the mask edit session, using the established ‘making masks equals painting’ metaphor:
Thumbs up to team three for documenting their design with their pencil drawings. Working in pencil is the norm during my class and as long as it is clear, it is also fine for design documentation.
postscript
Again I had a great week at the FH in Dornbirn this year. The evolving course set‑up, and the fact that every year the design challenges stress different aspects of interaction design craftsmanship, keep things fresh and exciting. I would like to thank all the students for the hard work they put in and for the energy they returned.

![]()
![]()
3 comments · post a comment
- at 12 May, 2012 22:57,
 Unknown commented
 - THANKS FOR THE HELP - JUST DOWNLOADED MY COPY OF GIMP. lOOKING FORWARD TO READING YOUR BLOG ON A REGULAR BASIS.
- at 06 June, 2013 10:57, tobias commented
- What does this mean for the Gimp team? Is it a good idea to use one ob this to redesign the tool or does it need more work?
- at 06 June, 2013 11:27, Unknown commented
- Good question. One has to value this work for what it is, student work from a class that ran one week.
One the one hand a certain part of GIMP—in 2012 seam carving—that has never received any interaction design thought, gets methodically worked on by 3 or 4 teams of talented designers. The results are a shot in the arm for GIMP.
On the other hand a week is very short and for the students it is their first introduction to interaction design. Thus the presented results are alway an inspired start but not complete and deep enough for implementation.
To do the methodical student work justice, the logical next step is that experienced interaction designers take the work forward and create a for-production design.
If you like to ask Peter one burning question and talk about it for ten minutes, then check out his available officehours.
 Peter Sikking is an
experienced
Peter Sikking is an
experienced
interaction architect. He unabashedly puts
shipping great products at the centre of his design practice. He is known for
his work for Google, Nokia, the
Metapolator &
GIMP
open source projects,
and startups.
What is Peter up to? See his /now page.
- info@mmiworks.net
- +49 (0)30 345 06 197
- imprint